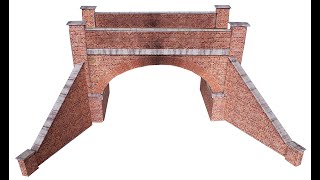
Something Holy


I've always loved churches. They are some of our oldest buildings in Britain, so for something different I thought I would produce a small rural church in various finishes.
I have been asked by many customers how I produce the kits so I thought I would take you through the many stages of designing one of my kits. I will show you the whole process from beginning to end and how exactly I produce such detailed kits and the length of the process involved.
The hardest bit is sometimes the research and I have taken thousands of photographs over the years of every conceivable type of building including doors, windows, letter boxes, door handles, signs, walls, woodwork, roof e.t.c which are filed in a vast library of various hard drives.


Each file contains thousands of images so I can produce pretty much any style of building required.
Here are a selection of walls and stones I have taken, some of them over twenty years ago. I drive my other half daft when I get so excited on seeing a new piece of wall to photograph.
So how do I start?
1. I normally don't base the kits on one particular building but tend to take the best and most interesting bits from various buildings. Once I get an idea on what I want and taking into consideration what, you the customer is asking for, I start to put together some basic drawings based on measurements of buildings I have taken. I then print them out, glue to card and start to build a very basic mock up of the kit. This gives me a chance to see if it just looks and more importantly, feels right.


2. Once it looks and feels right, I can then start to measure the internal dimensions to make sure that the interior walls are going to fit with the help and assistance of Agnes, our cat who has just had three kittens so she is taking a break for kitty sitting and supervising every move I make.


3. So the mock up is starting to take shape and all the bits are fitting together nicely. The internal walls and roof are measured out and fixed in place and any slight alterations are noted and corrected on the computer. For this stage I use Microsoft Publisher as it does what it says on the tin and I like things simple at this point.
4. The next stage is where it becomes a lot more technical as I switch over to using Photoshop for all the rest of the kit.
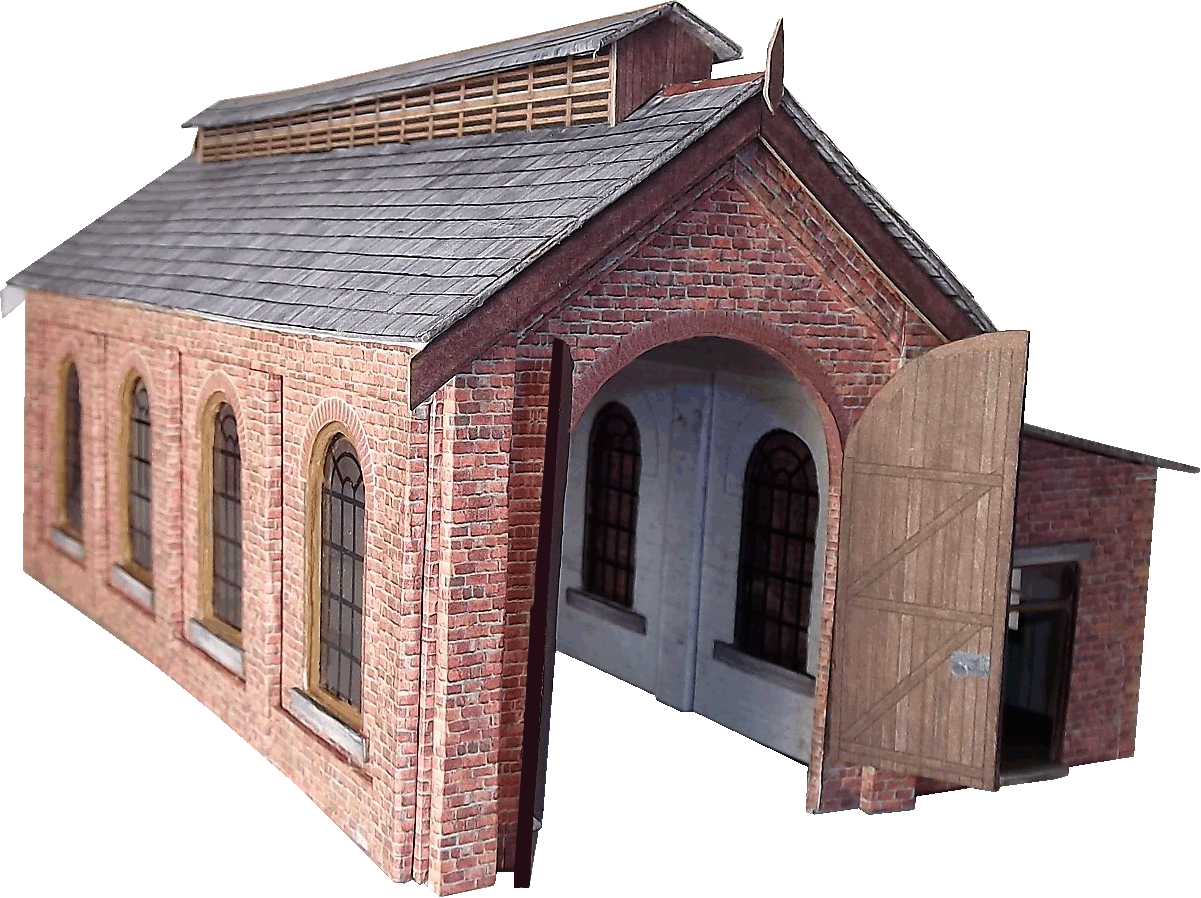
5. As the kits are built up using actual photo based images, I always try to get the camera straight on to the wall I am photographing then if need be I can adjust the perspective in Photoshop. The next image shows me using a section of the church image I took.


6. From there I can in Photoshop, reduce the image to one sheet of corrugated iron the size I require. From there I can weather it slightly taking into account whether it is going to be at the top of the wall or the bottom. I repeat this process until I have enough sheets to rebuild the side of the church.
These sheets are then assembled as they would have been when the building was built, bolt heads and nail marks are added from the original then this multi layer is sealed in Photoshop from perhaps 65 layers on top of each other down to one sealed layer which I again adjust the colour balance and weather to suit before saving the image to file before layering it into Microsoft publisher.
So that is how the kit starts to come together. It takes a lot less time to explain than do. Next week I will explain the next few steps of adding the photo walls to the mock up drawings.
Happy modelling and dont forget to try out my free kit which can be found at: https://www.3dk.ca/free-kit
And happy modelling,
Calum 3dk
30 Sep 2017